How to Install Tires Like a Professional: A Guide for Tire Shop Mechanics
Mechanics face many tasks on a weekly basis, one of which is installing tires for customers. Whether it is replacing old tires with new ones or seasonal changes, the process is the same. This article will provide an in-depth guide on how to properly install tires using a tire machine, assuming the reader already has a working tire installation machine. This guide is useful for mechanics who need a refresher or for new car enthusiasts who recently purchased a tire installation machine for themselves.
Before proceeding, it is important to mention that the author of this article is a professional aftermarket engineer with more than 15 years of experience in the automotive repair equipment industry and appears in the pictures showing the process of breaking down old tires and installing new ones.
following are the steps to properly install a tire using a tire machine:
Step 1: Ready Your Work Area
Having a clean and organized work area is essential for any mechanic. This is especially true when handling small objects like valve cores and valve stem caps that can easily get lost if dropped.
Step 2: Deflate the Old Tire
To prepare the tire assembly for removal, the valve stem cap must first be removed, and the valve core must be removed to allow the tire to fully deflate. This can be achieved using a valve core removal tool or by manually depressing the valve core.
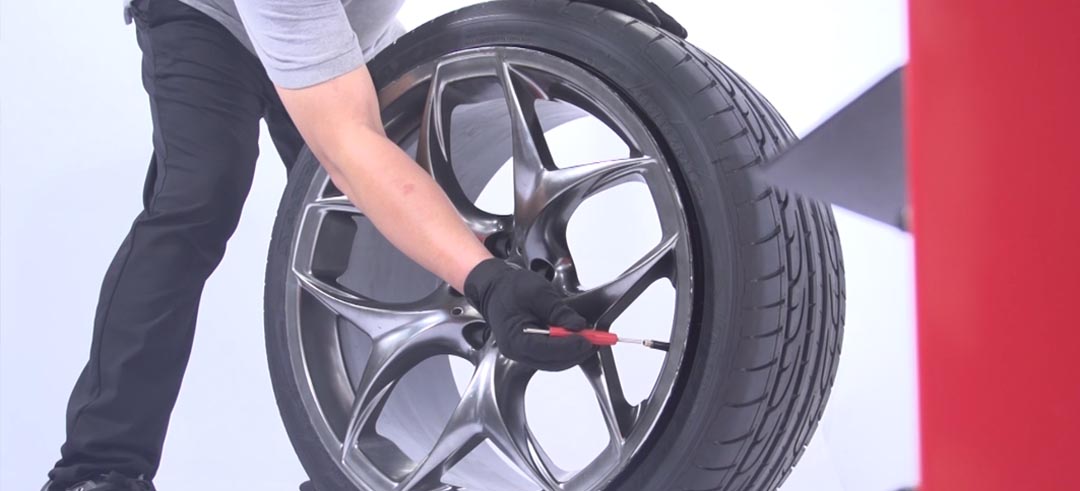
Next, you will need to remove the valve core from the valve stem so that the tire can deflate fully. Fully deflating a tire can be achieved in two different manners, removing the valve stem core using a valve core removal tool, or by simply depressing the valve core physically using your finger, pen, or screwdriver for example. As long as the tire is completely void of air pressure at the end of this step then you are good to move onto the next step.
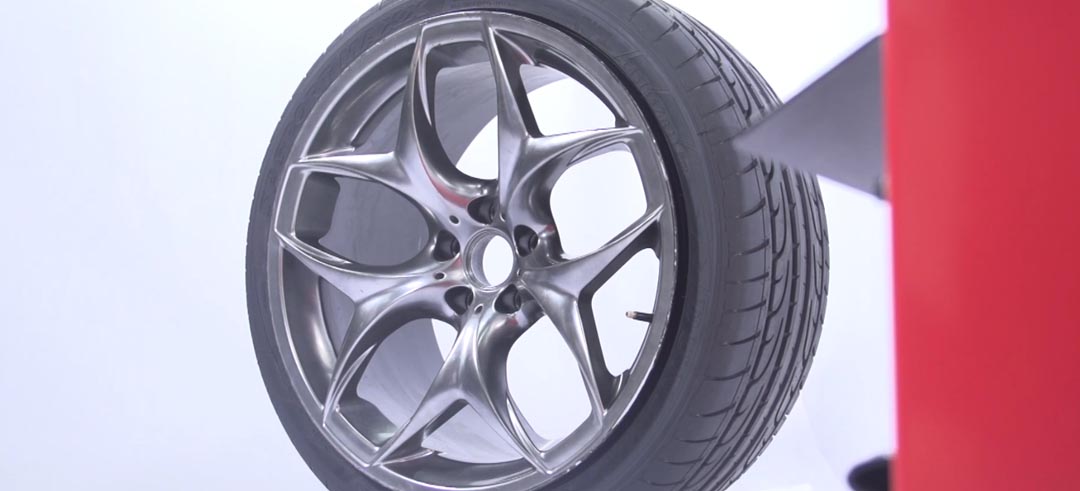
(The image above shows a removed valve core and allowing the tire to deflate.)
Step 3: Remove Wheel Weights
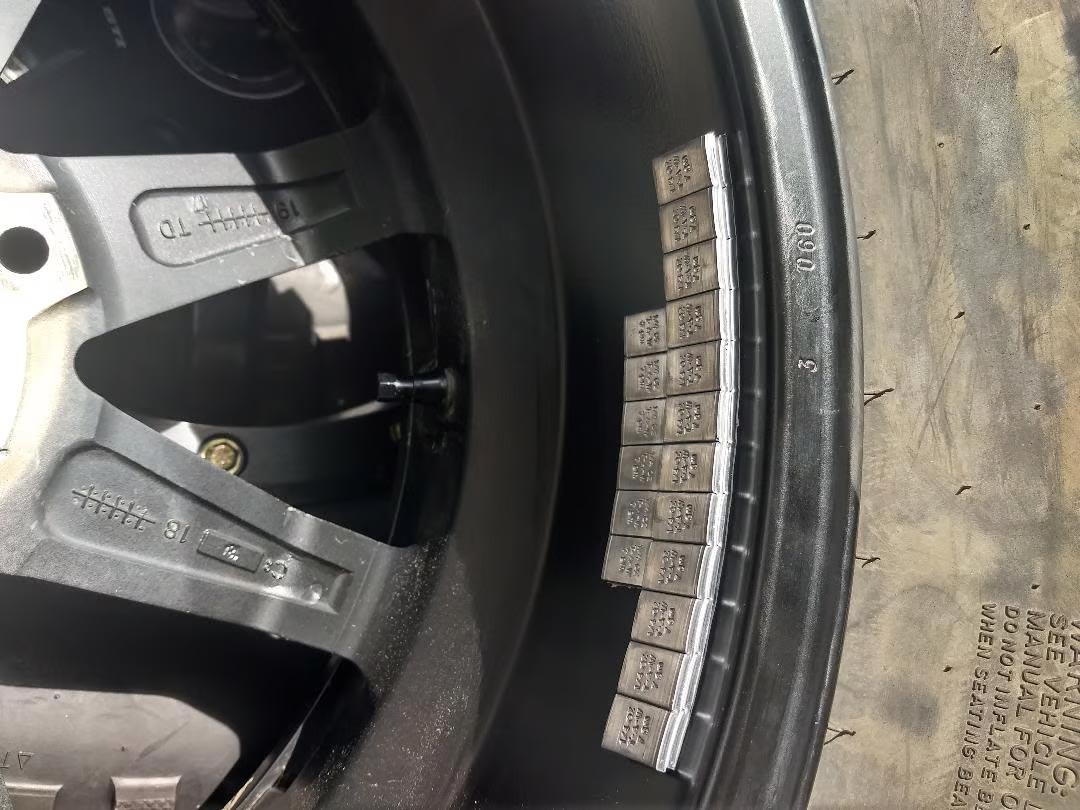
Before removing the tire from the rim, any wheel weights must be removed using a plastic scraper or wheel weight remover to avoid damaging the rim.
Step 4: Unseating the Outer Bead of the Tire
Align the valve stem at the 12 o’clock or 6 o’clock position and use the hydraulic arm with the bead breaking shovel to break the outer bead at the 3 o’clock position. If the whole bead does not unseat, rotate the tire 180° and continue to break the outer bead until it is completely unseated, being careful to keep the valve stem in the 12 o’clock or 6 o’clock position.
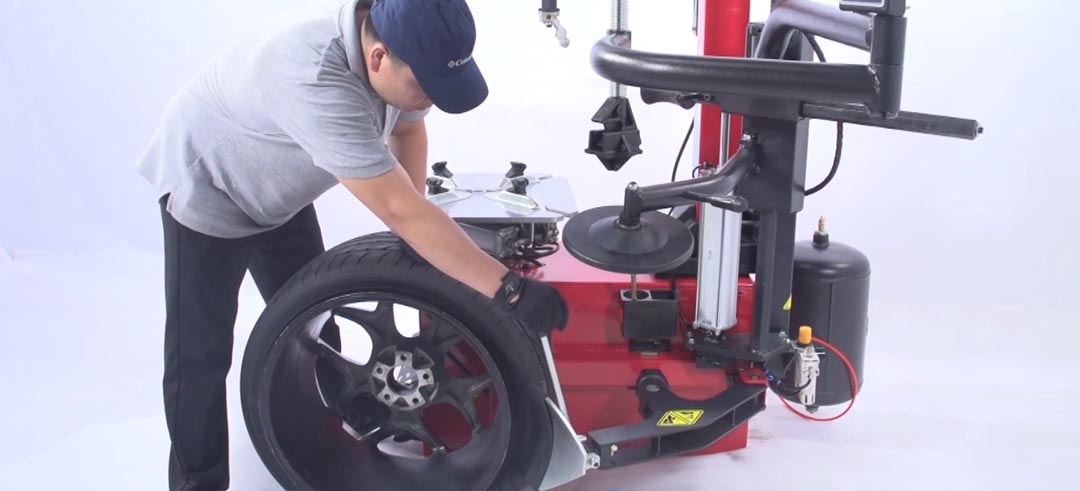
(The image above shows a fully unseated outer bead.)
Step 5: Unseating the Inner Bead of the Tire
To unseat the inner bead of the tire, repeat Step 4 and align the valve stem at the 12 o’clock or 6 o’clock position to avoid damaging the valve sensor.
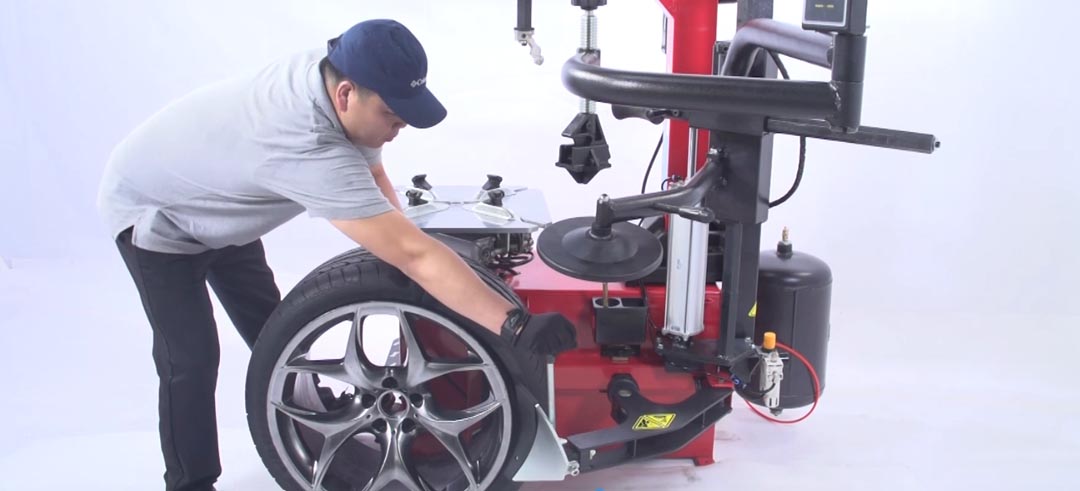
(The image above shows a fully unseated inner bead.)
Step 6: Remove the Tire from the Rim
Using the tire machine, loosen the tire from the rim by pushing down on the pedal. Once the tire is loosened, rotate the tire and repeat the process until the tire is completely removed from the rim.
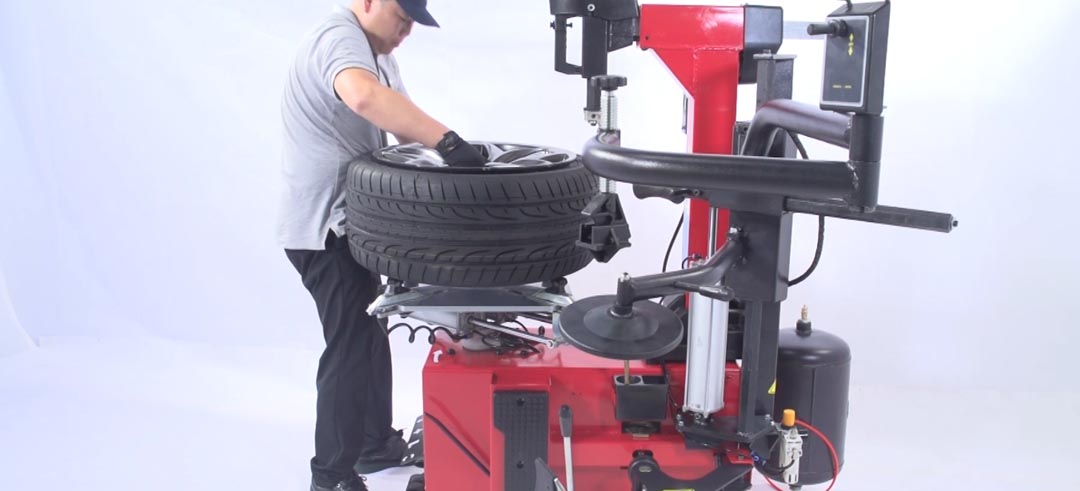
Step 7: Install the New Tire
Using the tire machine, place the new tire on the rim, aligning the valve stem at the 6 o’clock position. Once in place, use the tire machine to inflate the tire to the recommended pressure.
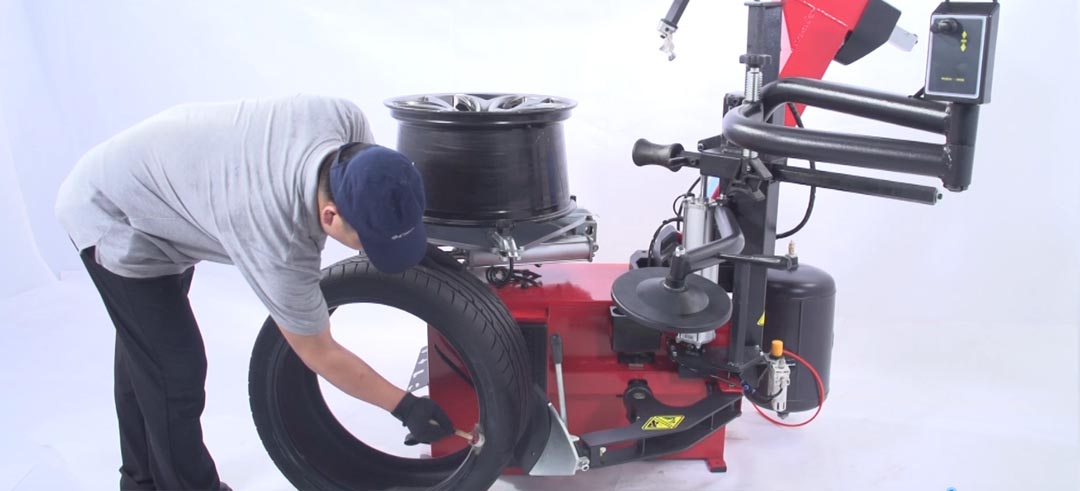
Step 8: Seat the Beads of the Tire
Using the tire machine, seat the beads of the tire by inflating the tire until both beads are securely in place on the rim.
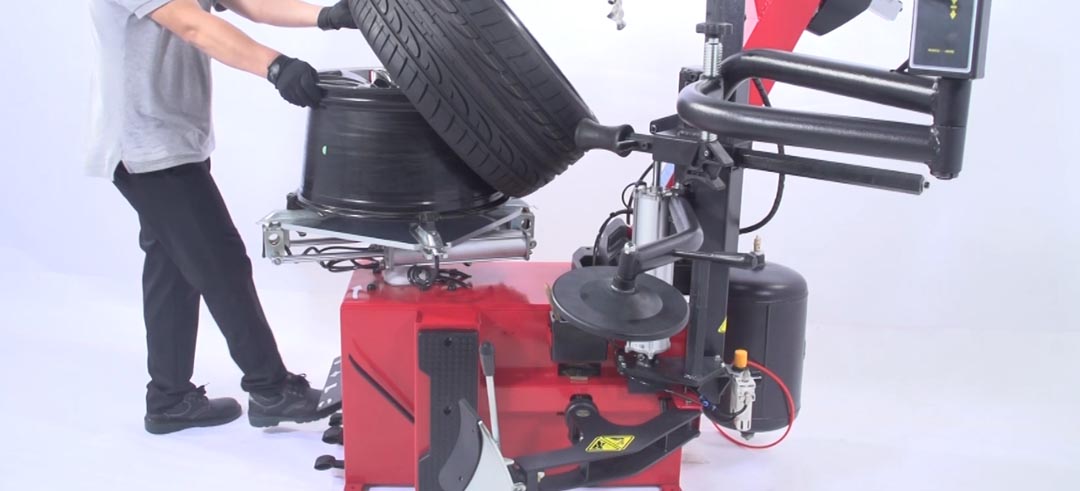
Step 9: Inspect the Tire
Inspect the tire for any damages, and ensure that the tire is properly seated on the rim.
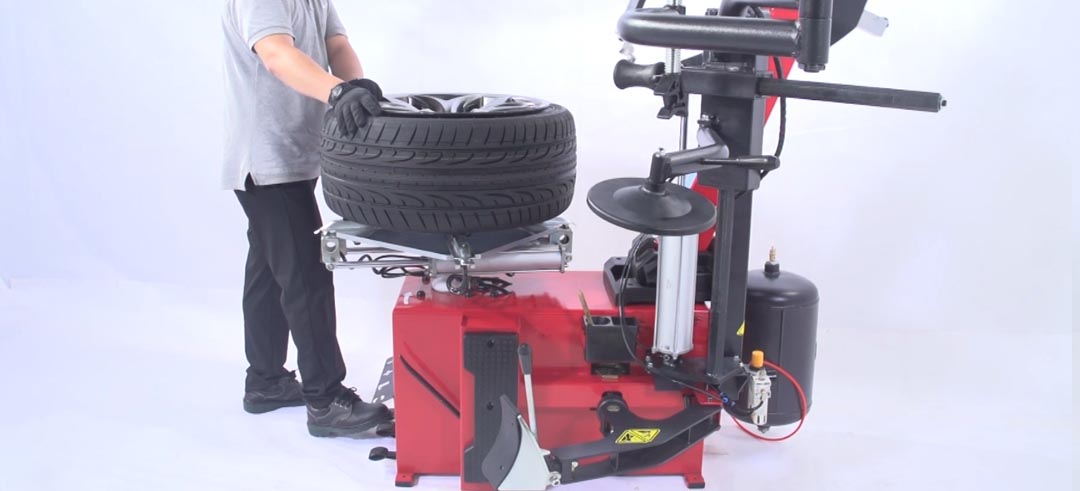
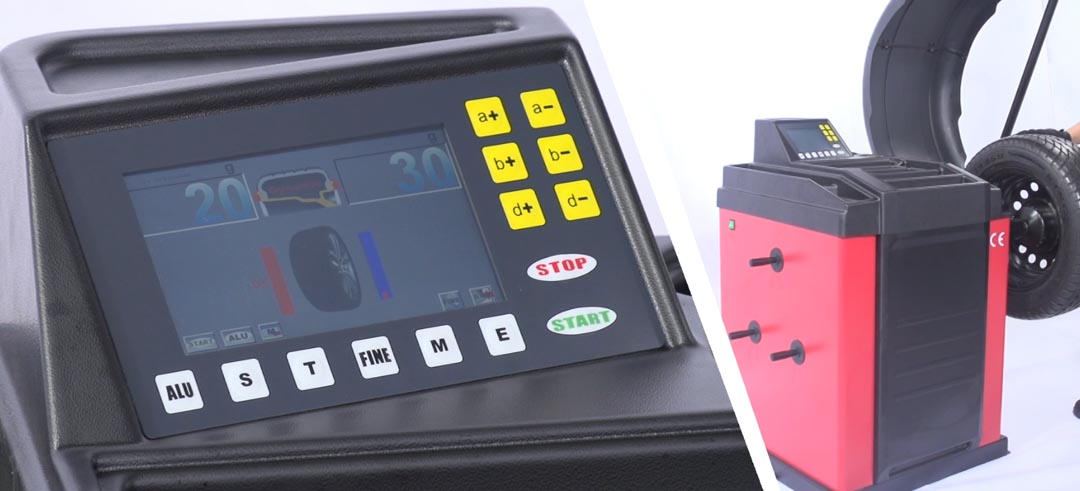
Step 10: Balance the Tire
Using a wheel balancer, balance the tire to ensure proper handling and safety.
Step 11: Reinstall the Wheel and Torque the Lug Nuts
Reinstall the tire and torque the lug nuts to the manufacturer’s specifications.
In conclusion, properly installing a tire using a tire machine requires careful attention to detail and adherence to safety protocols to avoid damage to the rim or valve sensor. By following the steps outlined above, mechanics and car enthusiasts can ensure a successful tire


